Guide | MobiPOS > CloudSync > Content Management System > Customer Segmentation
Customer Segmentation
Customer segmentation is a useful feature for searching for a group of customers, such as regular customers, to reward members who spend above a certain amount, etc.
To set up a segmentation group for customers based on specific criteria, follow the steps below.
To do that, proceed to MobiPOS CloudSync and log in to your account.
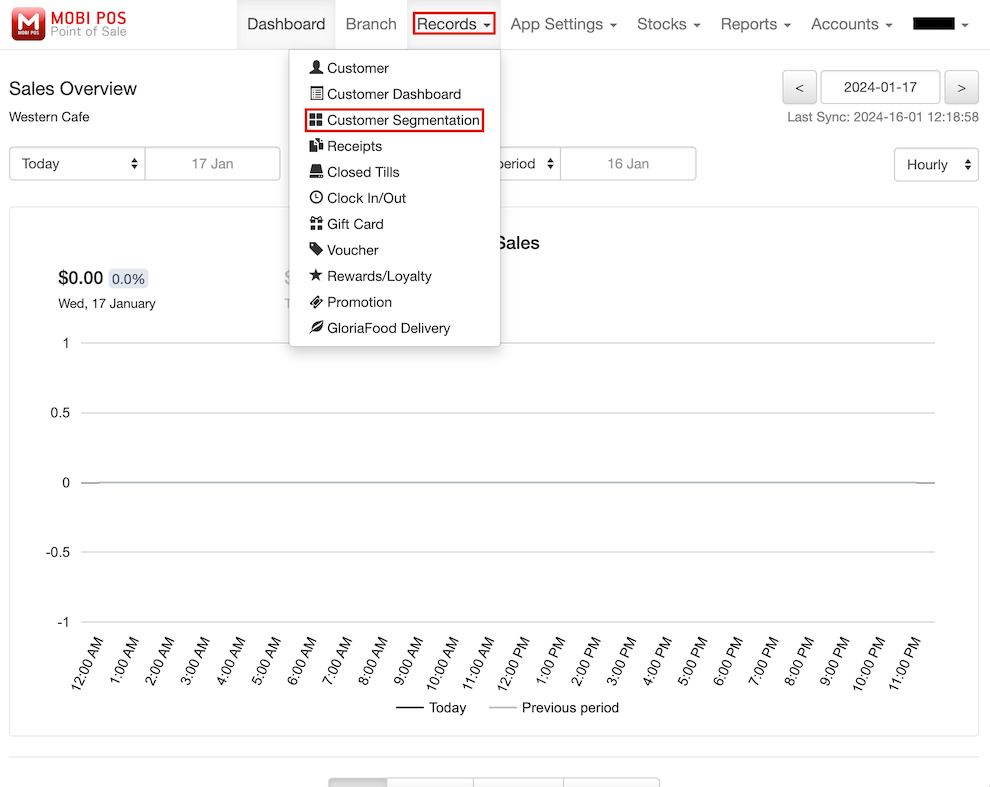
Then, click on Records at the top navigation bar and select Customer Segmentation from the drop-down list.
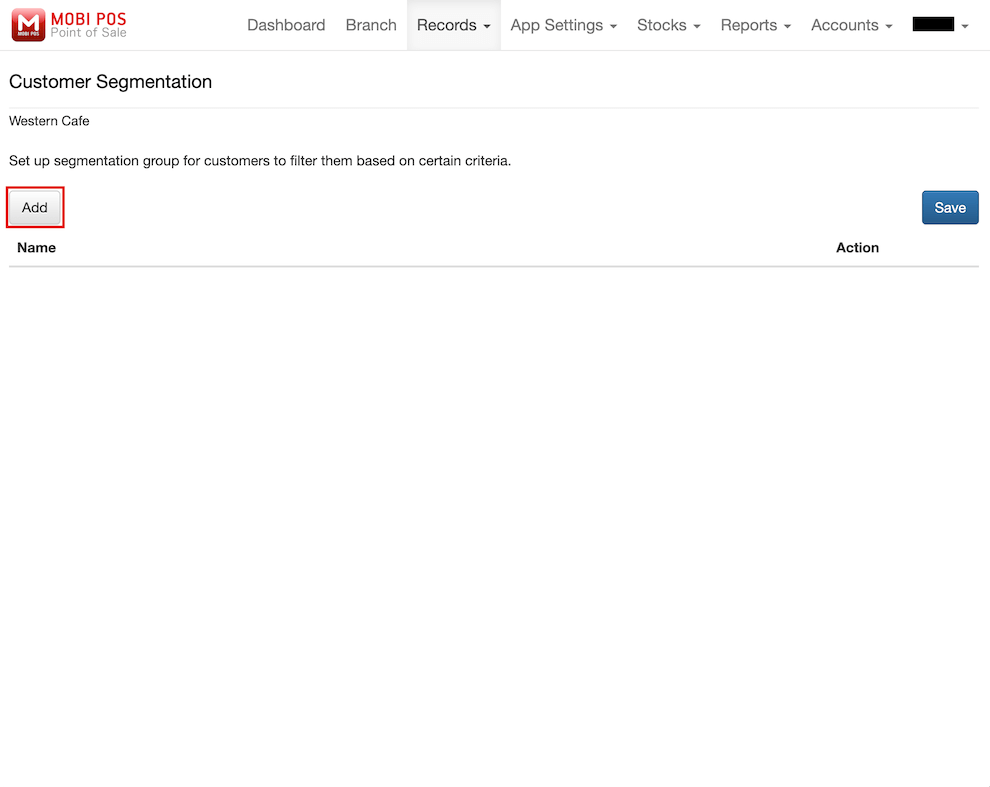
Click on Add.
Fill in the Customer Segmentation Name, and click on Save.
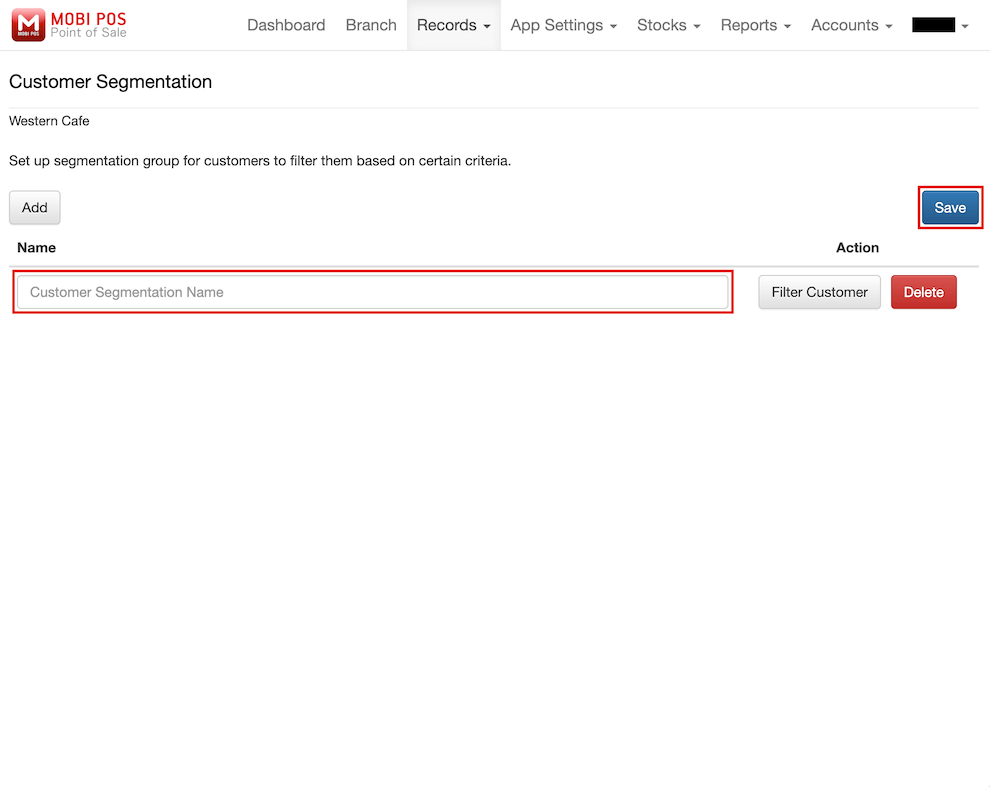
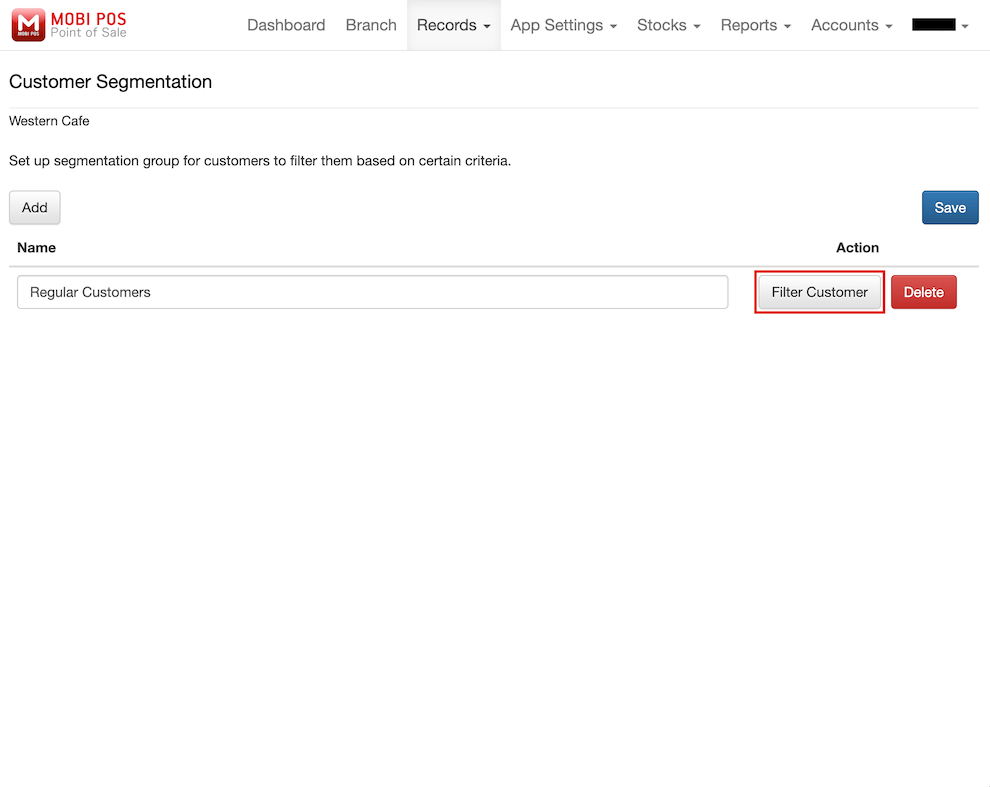
Click on Filter Customer.
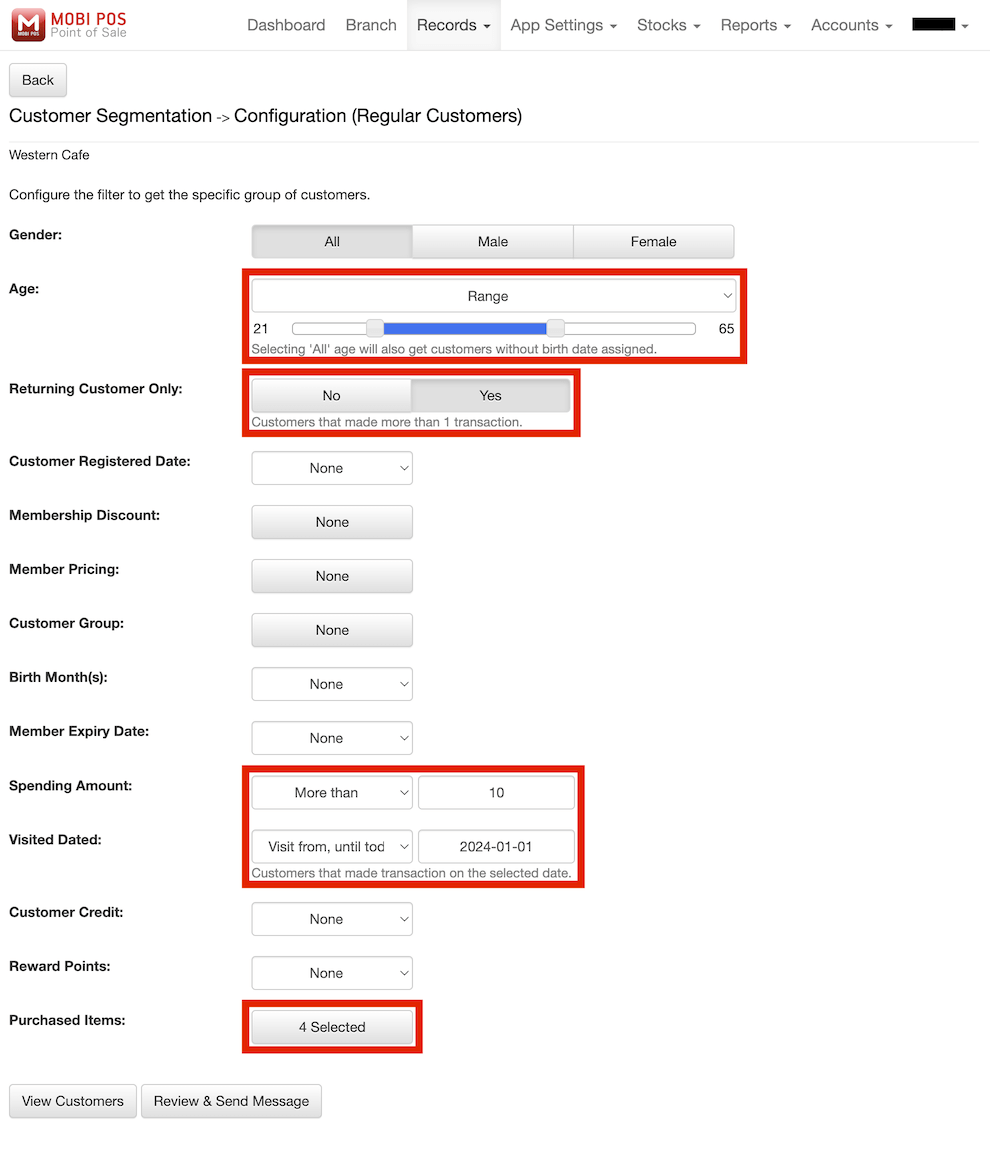
Next, configure the filter to obtain a specific group of customers.
In this example, we will filter the customer group to find for Regular Customers.
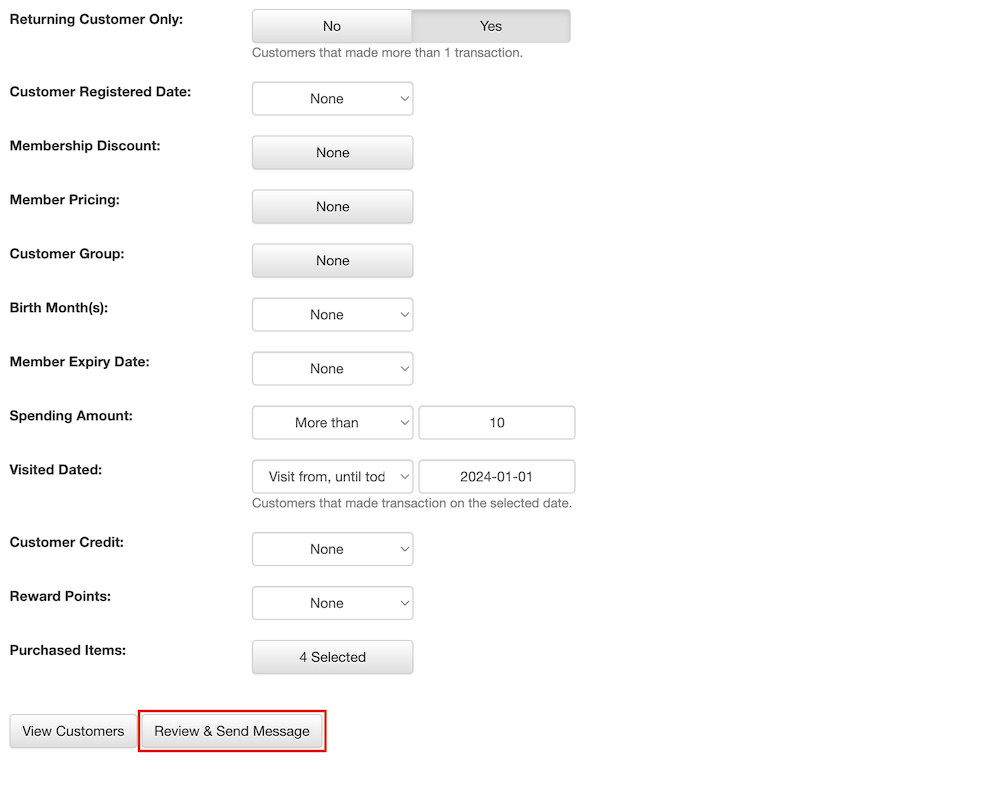
For example, you can set the filter for the Age Range between 21 and 65 years old, Returning Customers Only, Spending Amount of more than $10.00, Visited Date from 2024-01-01 until today, and Purchased any burgers from Western Cafe.
Please make sure that the customers have provided their birth date to filter the age range.
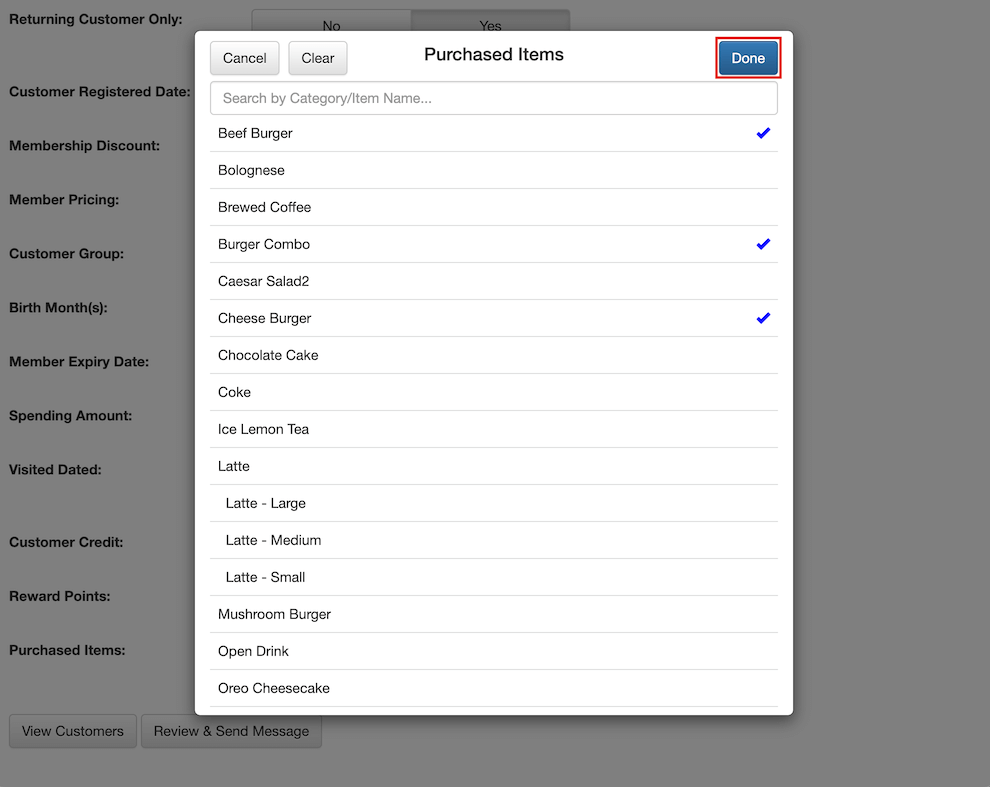
To filter the Purchased Items, you can click on None and select the items you want.
Then, click on Done.
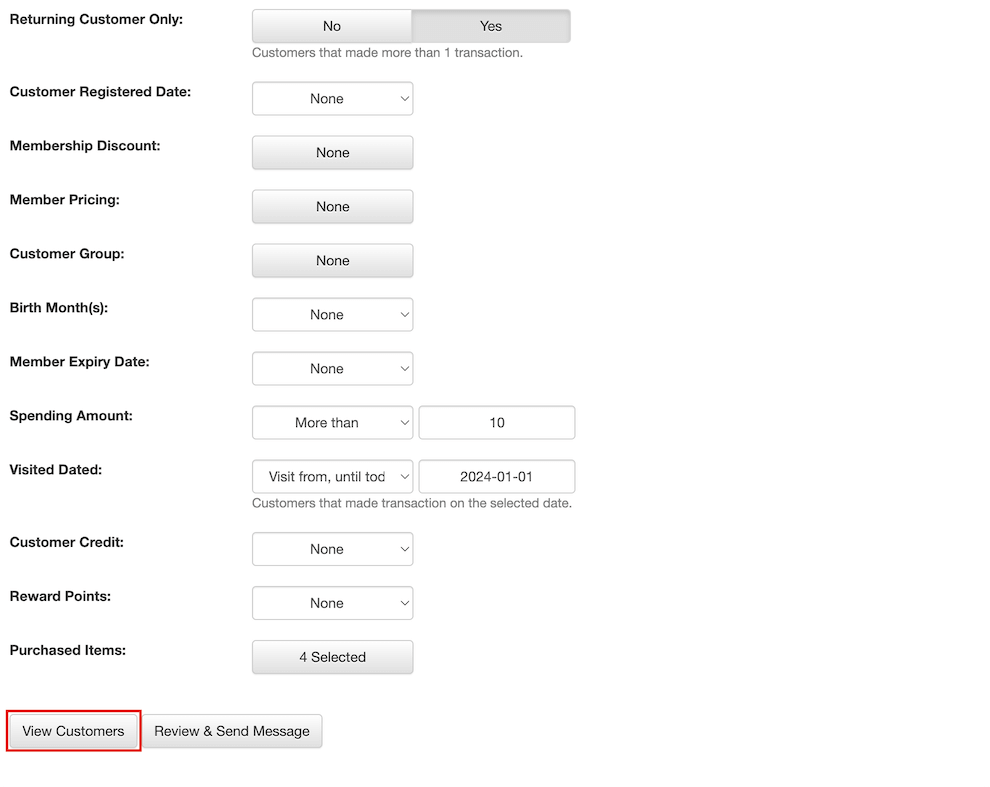
Then, click on View Customers.
This action will automatically save the configuration you have set.
Now, you can see a list of customers who meet the filtered requirements for Regular Customers.
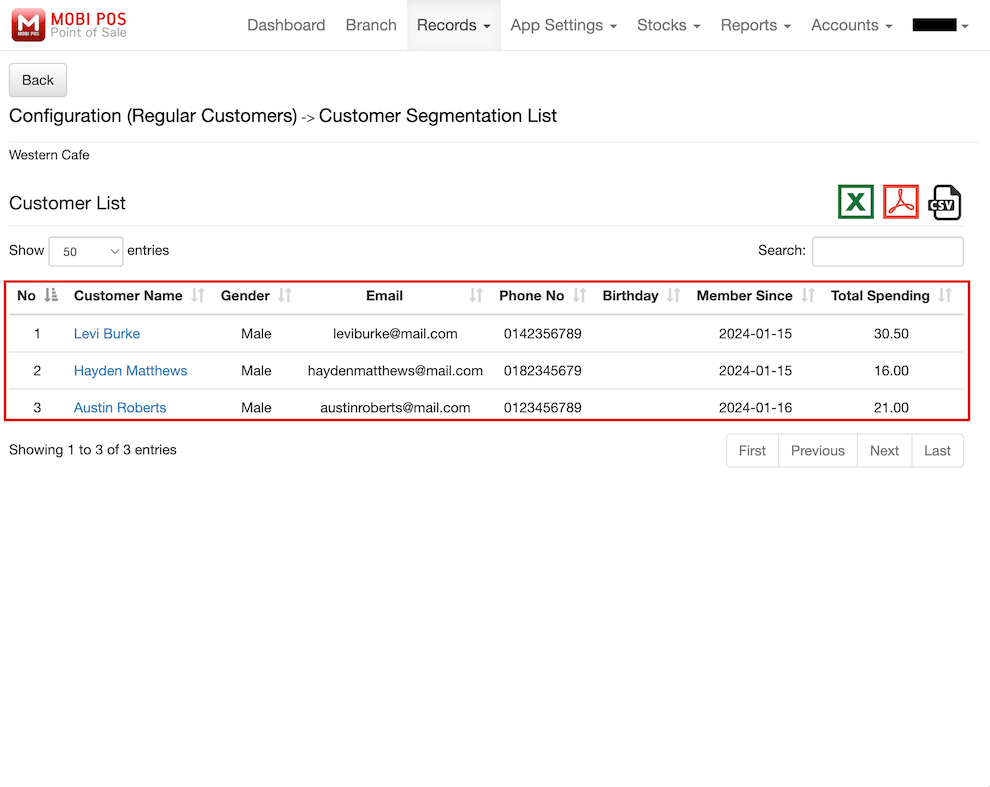
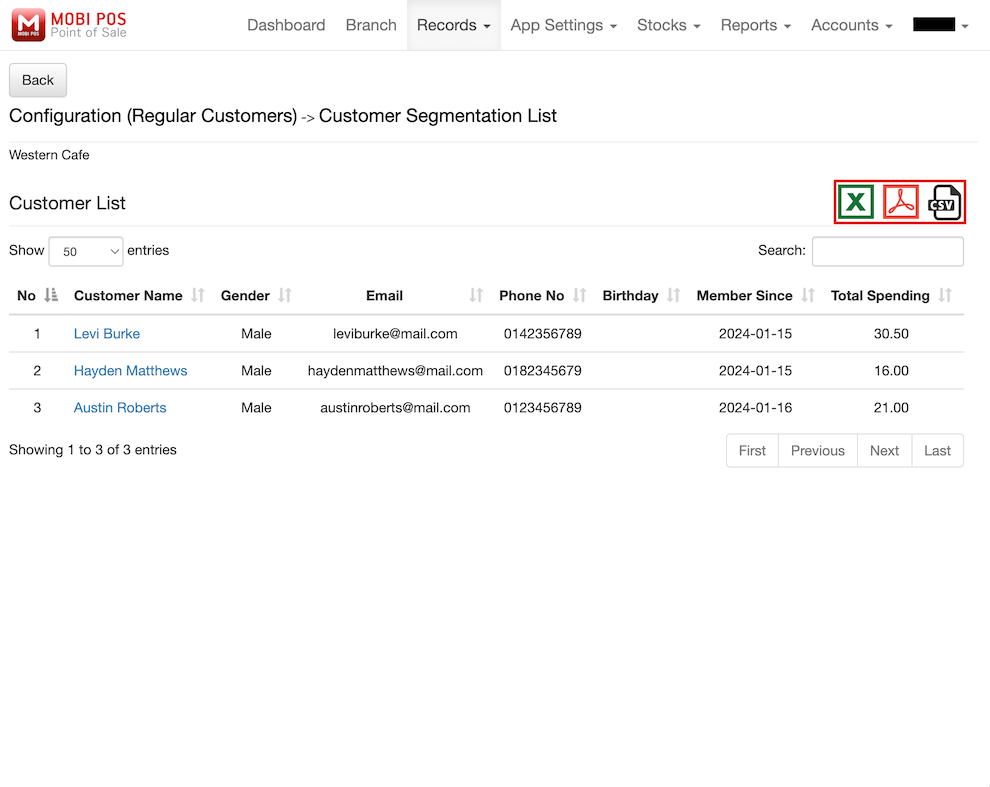
You can also choose to export the filtered customer list for Regular Customers.
There are three formats for exportation: Microsoft Excel, PDF, or CSV file.
Click on the file icon with the format you want to begin the export.
If you wish to send out promotional messages to the filtered customer group, go back to the previous page to filter customers.
Click on Review & Send Message.
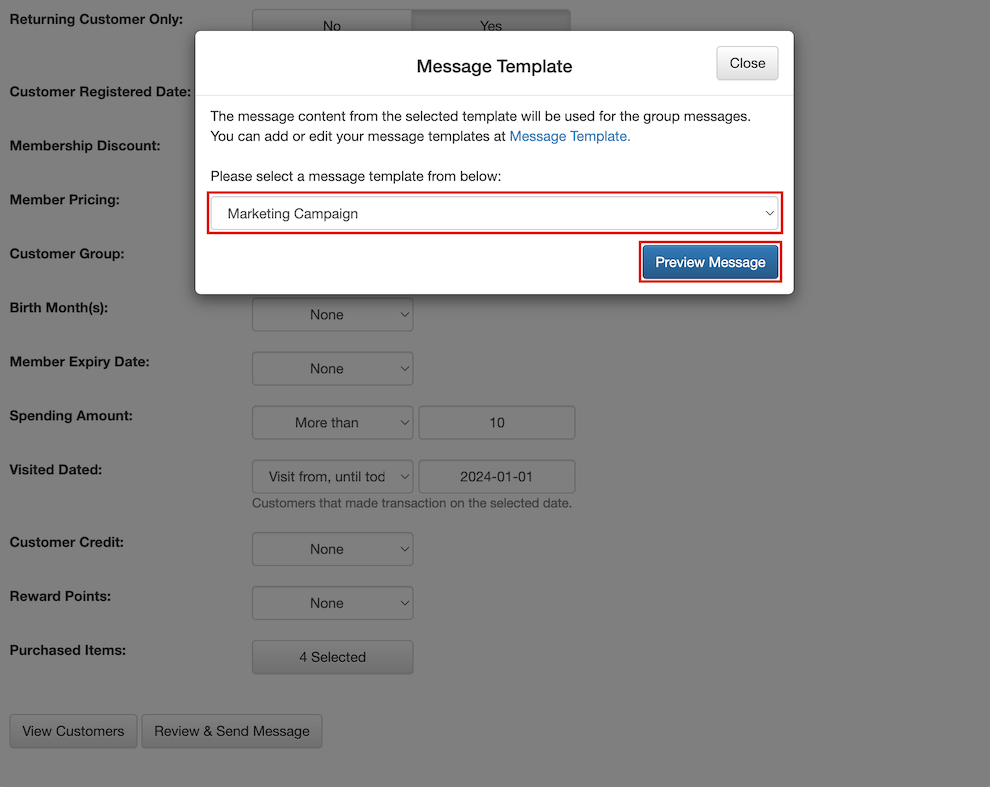
Select a message template to blast messages.
Please make sure that the message template has to be configured in order to be used.
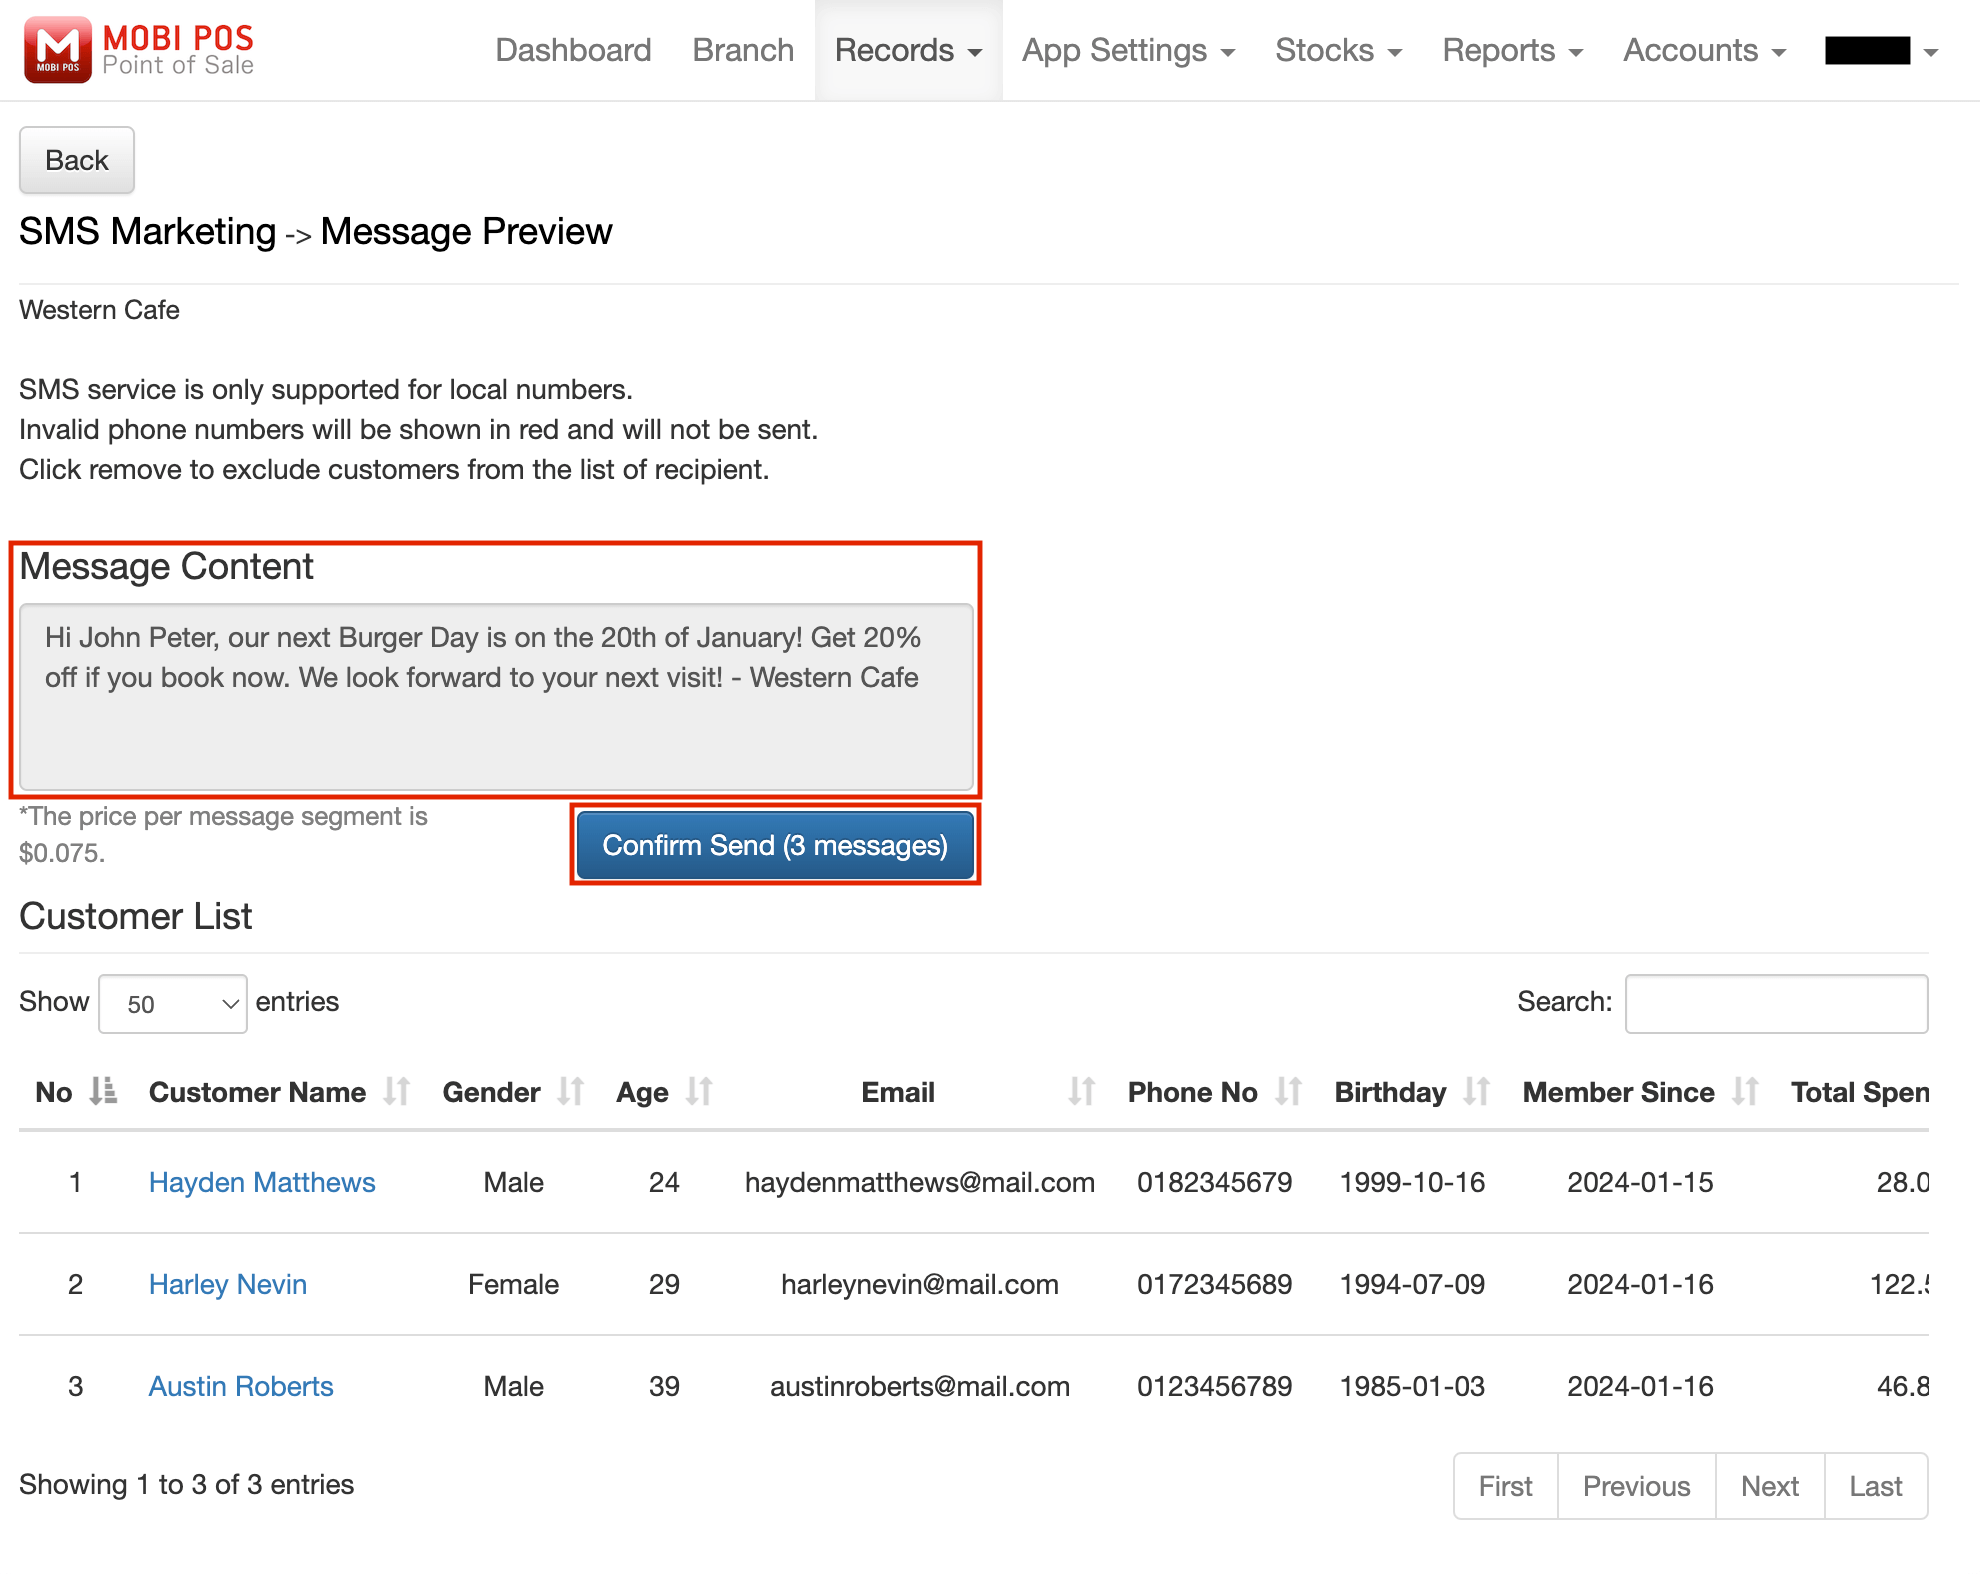
Then, click on Preview Message, and you will be directed to the Message Preview page.
The message to be sent to the customers is shown in the Message Content.
Lastly, click on Confirm Send to blast promotional messages.
